Level Blueprint
At the toolbar, go to Blueprints dropdown and select Open Level Blueprint

Event graph
Nodes can be connected by wires that are color coded.
Add new node
Right click and search for node type.
Context sensitive menu by first selecting an object in viewport * This includes Create a reference to MySelectedObj
Drag a wire into void to create a new node
Adding a trigger box
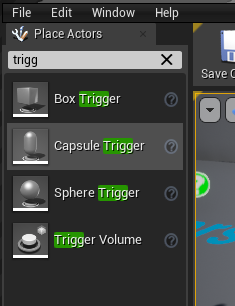
In Place Actors in the left. Search for trigger and drag Box Trigger in to the viewport.
In Blueprint editor right click and select Create a Reference to TriggerBox

Add event from trigger box

Connecting the Nodes
slots has colours and symbols to help identify what can be conneccted
Alt-LeftClick to disconnect

Running
Go to the Play dropdown at the toolbar. Among others you could choose the following
Selected Viewport (run the game in viewport)
Simulate (don’t actually run the game)
Debugging
To enable debug, select from Debug Filter at the top right of the menu.
This would let the wires lightup when running.
Example
